Touch-up makes a big difference
If you are looking for a semiquick project and something that will give you immediate results, you could take a quick look around and see if there are any areas in your home that have caulk.
You’ll usually find caulk in the bathrooms, around the tub, shower, toilet and maybe the sink. You can easily freshen up your living space by re-caulking any areas that look like they could use a touch-up.
Not too long ago, I noticed the caulk in our bathrooms was starting to look dingy and was in need of a touch-up. I had no idea where to start, however, and after a quick search on Google, “how to re-caulk the tub,” I was left even more confused than before. For example, there are a few different tools and techniques on how to get the perfectly straight line, but according to my Google search, each personal experience was different for everyone, so where was I to start?
Because this was an area where I was completely clueless, I made a quick phone call to someone who has been my example of the ultimate Mrs. Fix-it, my mom. While cruising through the aisles of Home Depot, I called her and I told her I had no idea how to repair the pealing caulk around the bathtub and the base of the toilet, and she briefly explained to me techniques that have worked for her in the past and gave me the run down on which caulk to buy. After I hung up, I felt confident enough to tackle this task on my own.
Below are the steps that worked for me.
Using a plastic putty knife, remove the old caulk. You could touch up the areas that are starting to crack and peel away, but getting a smooth, clean line this way is near impossible. I like starting with a fresh surface. Once your putty knife gets some of the caulk loose, use your finger to peel the rest of it off. It usually comes up in big pieces. Make sure you use a towel to wipe the surface and remove any loose pieces of caulk that may be still hanging around.
Another helpful tip I read about but have not tried yet is
to use a caulk removing gel. The recommended wait time for this once
applied is several hours (even better if overnight). Maybe if I decide
to tackle a bigger project in the sometime near future, I’ll look into
applying a caulk removing gel. My project this time was just one touch
up on the bathtub and around the base of the toilet.
When
it comes to deciding what type of caulk to use, I recommend using,
“Polyseamseal Caulk + Tub & Tile.” The benefits to using this type
of caulk are: It is flexible and durable, it holds up well in direct
sunlight and temperature extremes, and it will last a long time.
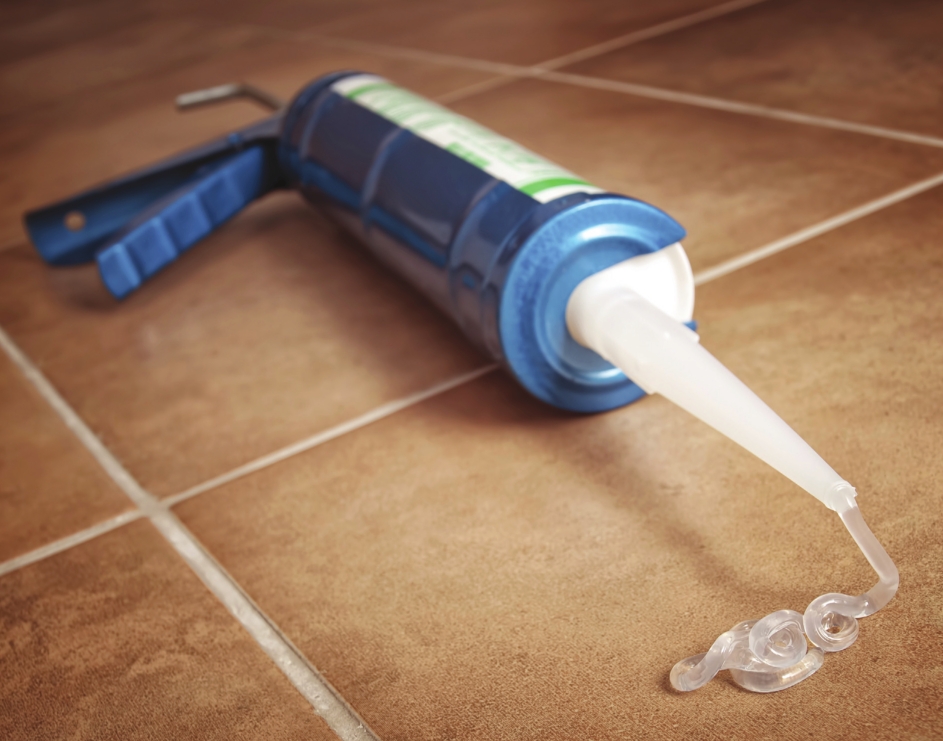
One
tip I read about when it comes to applying caulk just the right way is
to cut the end of the caulk tube at a 30 degree angle. A damp towel is
all you need to clean up, but you can also keep some mineral spirits
nearby to help clean any mess-ups. Note that mineral spirits are
necessary when dealing with a silicone based caulk.
Also,
you can use painters’ tape to mark off the area where you are going to
caulk. Use painters’ tape on the top and bottom that way you can ensure
you’ll get a straight, even line.
Once
you start to add the caulk, start at one end and work to the other
corner of where you are trying to caulk. Keep moving in a steady line,
stopping will cause your line to not be as straight and smooth. Once
you’ve got your line, use your finger to smooth the caulk down gently.
Allow several hours for the caulk to dry.
Once you are finished, you can put a hardware nail inside the tip of the caulking tube to keep it from drying out.
Not
only is a cracked and pealing caulk line an eye sore, it could
potentially be causing some damage under the surface that you are
unaware of. The cracked and peeling caulk could be allowing unwanted
moisture into your home and could lead to mold and damage.
Overall,
this project cost me less than $20. Had I waited until the caulk was
damaged and peeling even more, I could be dealing with a more expensive
project, not one I’m really ready to tackle on my own.
