Changing the idea of the room
Many times when you move into an older home like we did you will find things that need updating.
Our home, which was built in the early 1990s has “great bones.” This is what I recall our Relator explaining to us upon showing us the home for the first time during our home search almost a year and a half ago.
While searching for a home, I learned this is what you want to look for, a home that is structurally sound, one that will stand the test of time. A home can be staged and look exactly like what you are looking for, but you need to know what’s lurking behind the surface. I’m a sucker for a fabulously staged home though. There were several homes we walked into, and I knew immediately it wasn’t going to be a good fit for me. My husband however would calmly remind me that the “stuff ” inside the homes we were looking at should not be a deciding factor in whether or not we pursue purchasing.
During our home search, we were shown this wonderful home, which had recently been flipped and wasn’t occupied at the time. It was staged, it was clean, it was mine! Or so I thought.
My husband and I visited the house several times together, but each time, something just didn’t sit right with my husband. He went back several more times with the Relator, inspecting every inch of the home. In the end, the home had structural problems, and it wasn’t something we wanted to get involved with so we continued on with our search and soon found the home we are in today.
We’ve slowly made changes to our home; updating the kitchen and floors and installing a new fence are a few of the things we’ve recently changed.
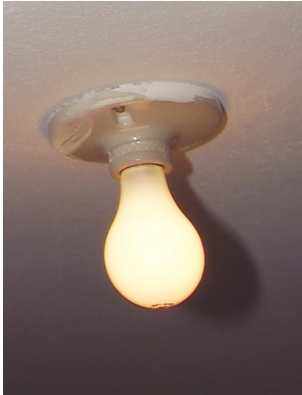
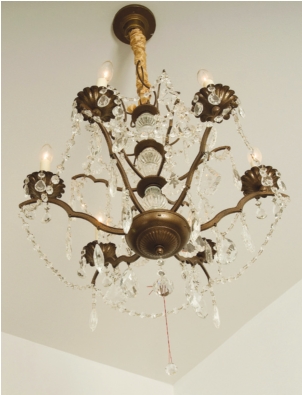
One easy upgrade that can change the look of your home is installing a new light fixture. Most of the light fixtures in our home were outdated; they were probably the same ones that were installed when the home was built so it was definitely time for a change. With a little bit of knowledge, you can change a light fixture in as little as 10 minutes. Here is a step-by-step guide to changing a light fixture.
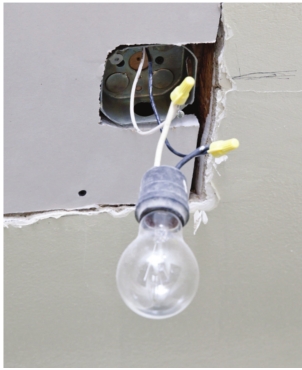
You want to make sure the power to the light source you are changing is off. This step is No. 1 and is probably the most important step. Using your fuse box, switch off the power to the room you are working in. You could also just shut the power off the entire house if you are uncertain which switch goes where. This is where a buddy might come in handy. One of you could flip off the switches, and the other can find where the power is off, then you can label your fuse box if it’s not labeled already.
Remove the old light fixture, and save any working light bulbs.
Using a ladder, I found that I could use the flashlight on my phone to brighten up the room if there wasn’t any natural light.
Attach your new light fixture. The instructions are pretty self-explanatory, typically the black wires connect to each other and the white wires connect to each other. The ground wire, which is often green, connects to a grounding screw. Use the wire connectors to screw the corresponding wires together.
Follow your light fixture’s instructions and use the included hardware to attach the fixture base to the electrical box.
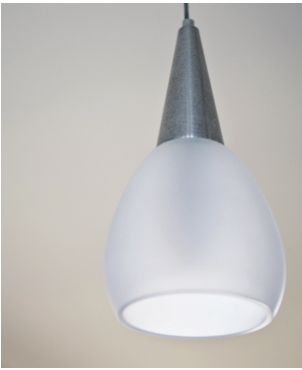
Put in a light bulb and attach the molding or base that came with the new light fixture.
Flip your power switch to that room back on. If the light doesn’t come back on, flip the power back off and re-check your wiring connections.
Outdated
light fixtures can be an eyesore, but with some simple instructions,
you can change them yourself as often as you want. We are happy with the
way our replaced light fixtures turned out, so we’ll probably keep them
for a while. On a side note, please keep in mind though when dealing
with electricity, it’s better to play it safe than sorry.
If
you aren’t completely comfortable, please ask someone who has
experience to show you step by step how to replace a light fixture.
