Saving summer’s bounty
FOOD | Julianne Glatz
Not so long ago, almost every family – rich and poor, country and city dwellers – preserved much of their own food. From late summer until first frost, kitchens were even more a beehive of activity than usual as cooks made jams, jellies, pickles, sauces and condiments and canned vegetables and fruits. That began to change in 1925, when Clarence Birdseye introduced the “Quick Freeze Machine,” revolutionizing food preservation.
Birdseye must have been quite a guy. Lack of money forced him to drop out of Amherst College in 1912. He became a fur trader on the Canadian Labrador peninsula, where he discovered the keeping qualities of foods frozen at very low temperatures. Back in the States, Birdseye invented his freezing machine, then founded a company (which ultimately became General Foods Corporation) to sell it. Birdseye didn’t stop there. He held more than 300 patents in his lifetime, including advancements in food dehydration and the first heat lamp.
The Quick Freeze Machine took a while to catch on because it required a considerable investment for both homemakers and stores. By 1930, however, the first “Birds Eye” product, frozen peas, had been introduced. Long-term food storage would never be the same.
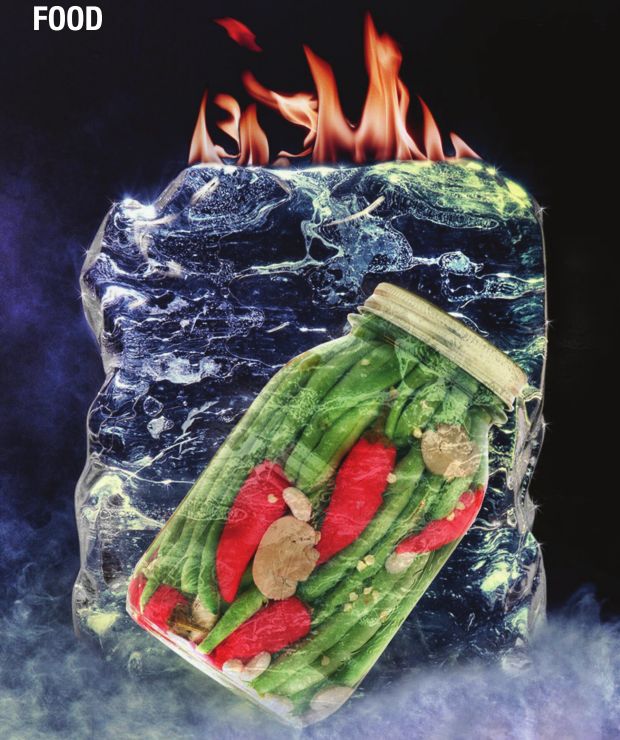
In the last few decades, it seemed as if home food preservation was headed for virtual extinction. But lately there’s been a resurgence of folks who are discovering the satisfaction that comes from creating a cache of warm weather’s seasonal goodness for colder times ahead. Master Food Preservation classes given by the University of Illinois Home Extension – including the Sangamon County Bureau – fill quickly. The long-standing bible of home canning, The Ball Blue Book has had a resurgence in sales. And a new generation of home-canning equipment is on the market that eliminates much of the guesswork and/ or need for experience from home canning. The most sophisticated of these, the Ball FreshTECH Automatic Home Canning System retails for $299. Expensive for sure; even so, I was enthused about its capabilities until discovering that the Ball company specifies that it should be used only with recipes that accompany it and are on the Ball website. For me, that was a deal breaker.
For even the most dedicated
home-canning enthusiasts, preserving summer’s bounty isn’t the
all-consuming summer ritual it used to be. But it’s possible to capture
some of that bounty at its most flavorful with little or almost no
effort. You don’t have to stock pantry shelves with home-canned goods or
fill freezers with massive amounts to preserve a bit of summer’s
bounty. Why not buy some extra, or utilize leftovers – from those cobs
of corn or tomato slices remaining on the platter, or fruits that are
getting a bit soft? Following are just a few possibilities:
Corn
– Boil or microwave extra ears, or use leftovers from a meal. Cut the
kernels from the cobs and put them in heavy freezer bags. Add a little
cooking liquid or water, then squish out as much air as possible and
seal the bag. For flat, easy-to-stack packages, use the next biggest
size bag for the amount (e.g., a quart bag for 2 cups of corn).
Berries
– Freeze berries in single layers, then put them in plastic bags or
containers and return them to the freezer. To make a freshfruit coulis
(an uncooked fruit sauce), purée thawed berries in a blender or food
processor, then press the purée through a fine mesh strainer. Add sugar
to taste.
Peaches and
nectarines – These are the easiest of all: Simply put them, unpeeled,
into plastic bags and freeze. To use, hold the frozen fruit under
running water for a few seconds. The peel will loosen and easily slip
off. Cut the fruit after it’s thawed slightly, but is still icy.
Bananas
– Yes, I know bananas aren’t exactly local summer produce. But it’s
worth noting that the same principle applies: If they’re getting a bit
over, instead of throwing them away, throw them in the freezer to use
for smoothies or banana bread.
Tomatoes
– Fresh tomatoes contain so much water, they usually don’t freeze well.
Unthawed, a tomato becomes a little island of red surrounded by a lake
of liquid. To minimize the mushy factor, I devised a method of salting
tomatoes before freezing them as a way to add the flavor of fresh
tomatoes to soups, stews and baked dishes.
Salted
frozen tomatoes – Peel ripe tomatoes and remove the seeds. Cut the
tomatoes coarsely and put them in a nonreactive strainer. Toss the
tomatoes with salt (preferably kosher), 1 teaspoon per cup of tomatoes.
Let the tomatoes drain, stirring them periodically until they’ve reduced
in volume by at least half. This will take between 1 and 3 hours,
depending on the tomatoes’ water content. They should still be moist but
not juicy. Most of the salt will have drained away, but the amount of
salt in any recipe in which they are used should still be reduced or
eliminated. Freeze the tomatoes in 1/2 to 1-cup portions.
Last,
here are two recipes for tomato condiments that do require special
effort but that I’ve found are well worth it. Seared and roasted
tomatoes have many uses: Try them as a quick pasta sauce, a topping for
bruschetta (remember, it’s bruSKetta, not bruSHetta!), a salad dressing or component, or as a condiment for sandwiches or grilled or roasted meats.
Seared and roasted tomatoes
• 1/4 c. of extra-virgin olive oil
• 8 ripe but firm medium tomatoes, regular or Roma, halved and seeded
• Salt (preferably kosher) to taste
• 1 T. fresh thyme leaves or 1 tsp. dried thyme leaves (do not use ground thyme)
•
8 or more peeled garlic cloves Preheat oven to 400 F. In a large
skillet, heat oil over moderately high heat. Fit as many tomatoes in the
skillet as you can, and cut the sides down. Sear the tomatoes without
moving them, until the bottoms are dark and caramelized. This will take 5
to 7 minutes.
Remove
the tomatoes from heat, turn them over, sprinkle them with salt and
thyme, and tuck the garlic cloves among the tomatoes, turning the cloves
so they are coated with the pan juices. Bake for 15 to 30 minutes (this
will depend on the kind and size of the tomatoes you are using) until
the garlic is soft and the tomatoes are a deep, dark red-brown in color.
Freeze or can the tomatoes in 1-cup portions.
As
a child, I always knew when my grandmother was making chili sauce; I
could smell it as soon as the school bus let me out in front of our long
driveway. Nana’s chili sauce has countless uses. It’s a wonderful
replacement for catsup in general. My three favorite catsupreplacement
ways to use it are for a steak sauce (mix the chili sauce with an equal
amount of melted butter, then add minced fresh garlic and
Worchestershire sauce to taste); to turn an ordinary seafood cocktail
sauce into something extraordinary (add bottled grated horseradish and
fresh lemon juice to taste to the chili sauce); or mixed with equal
parts mayonnaise to make Thousand Island dressing. For true
authenticity, use the old Springfield standard spelling that has two l’s
instead of one; it’s almost certainly modeled after the British
spelling.
Nana’s prizewinning chilli sauce
• 3 qt. very ripe peeled, chopped, drained tomatoes
• 5 diced red bell peppers
• 3 c. diced onions
• 1/3 c. kosher salt
• 4 c. cider vinegar
• 1 T. whole cloves
• 1 T. celery seeds
• 3 c. sugar Put the cloves and celery seeds into a mesh tea ball or
square of cheesecloth tied into a bag with string. Simmer all
ingredients, except the sugar, in a large pan until thick, about 3
hours. Remove the spice bag. Add the sugar and simmer about 20 minutes
more, stirring frequently to avoid sticking. Can immediately or freeze
when cooled. Makes approximately 3 pints.
Contact Julianne Glatz at [email protected].
