Yep, I said fire
I like to think I’m a relatively smart woman. I have some degrees and certificates, and I feel as though I’m not totally naive as far as street smarts go either. Yet every once in a while, I have to wonder where my brain disappears to go have a cocktail when I find myself doing some really dumb stuff.
I’m inherently lazy, and one afternoon, I was getting ready to make my daughter Gracie a grilled cheese sandwich the old-fashioned way – on the stove – when I remembered a “life hack” pin from Pinterest and decided to give it a try. Now, some of you will read this and think, “Wow, duh idiot,” but for some reason, I put my full faith in the Pinterest gods for this seemingly easy tip.
This super easy life hack is as follows:
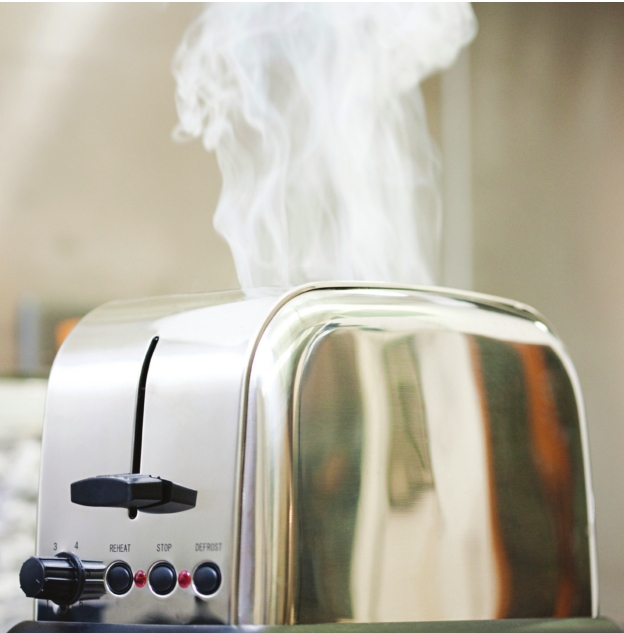
Cook the grilled cheese in the toaster. Yep, just turn the toaster on its side, put cheese on each slice of bread, and toast away. I saw the picture and thought, “Yeah, I’ll try that” without much commitment to reading the tutorial because who needs to learn how to make a grilled cheese? (Although I do have a friend who once asked me how to cut up an avocado, but that’s another sad story.) I learned my lesson the hard way. I buttered up my bread just like I would have if I were actually grilling the sandwich, popped it in the toaster and walked away in my idiot haze. It became a literal haze within seconds as the butter started to melt (again, duh!), which in turn became a smoky and even briefly fiery mess. I ran back to the toaster and popped those pieces out as quickly as I could. I couldn’t do anything but laugh at my stupidity and be thankful that my husband wasn’t home to give me a hard time about my ill-advised choice. So there you have it – probably my most epic Pinterest fail at least in the safety department.
Thankfully, I’m not always bad at choosing pins to try, and my win this month was a biggie. Nothing really says summer to me more than anything lemon, and I found a recipe for what are basically lemon white chocolate brownies that blew my flip-flops off.
A recipe from my “Desserts: Or Why I’m Not a Size 8’” board, they are actually called Lemon Lemonies, but that is just a little too cutesy for this butter arsonist. These were so dense and chewy and delicious. The picture from the linked website (www. averiecooks.com) was, of course, Instagram-worthy in its perfectness, but mine looked like my 3-year-old put them together. My saving grace was that they were so good no one cared what they looked like. They were very simple to put together; there’s no mixer to use, and the ingredients you would usually melt on the stove are combined in the microwave.
They were too good not to include the recipe. The cool thing for me was
that I managed to cook them without burning down the kitchen. Guess my
brain finally rebooted into cooking mode after the smoke from the
grilled cheese cleared. Enjoy!
Lemon Lemonies (from www.averiecooks.com)
3/4 cup white chocolate chips
3/4 cup granulated sugar
1/2 cup unsalted butter (1 stick), melted
1/4 cup lemon juice
2 large eggs
1-3/4 cups all-purpose flour Pinch of salt, optional and to taste
GLAZE:
2 cups confectioners’ sugar
1/3 cup lemon juice
1 tablespoon lemon zest
DIRECTIONS:
1.
Preheat oven to 350. Line an 8x8- inch pan with aluminum foil and spray
with cooking spray.
2. Bars: In a large, microwave-safe bowl, add white
chocolate, butter and heat to melt, about 2 minutes on high power in the
microwave. Stop to check and stir after 1 minute, then heat in
20-second bursts, stopping to stir after each until mixture can be
stirred smooth. Don’t overheat!
3. Wait momentarily before adding eggs
so you don’t scramble them. Add eggs, granulated sugar, lemon juice and
whisk until combined.
4. Add flour and optional salt and stir till just
combined; don’t over-mix.
5. Pour batter into pan and smooth the top
with a spatula.
6. Bake about 27-28 minutes, or until a toothpick
inserted in the center comes out mostly clean. (Note: I baked these for
about 25 minutes and started checking regularly. I’ve made them twice,
and about 26 minutes seems to be perfect.) Set aside and make glaze.
7.
Glaze: In a medium bowl, combine confectioners’ sugar, 1/3 cup lemon
juice and whisk until smooth. If necessary, add additional lemon juice
(or sugar) to reach desired glaze consistency. Should be fairly thin and
easily pourable.
8. Evenly pour glaze over warm bars, smoothing it
lightly with a spatula if necessary, but it will likely just slide into
place. (Note: This is where it got ugly. My bars weren’t especially
even, so the glaze pooled up at certain places. I just kept checking
them periodically as the glaze set and spread it to make it even.)
9.
Allow bars to cool in pan uncovered for at least 2 to 3 hours (or
covered with foil overnight) before slicing and serving so glaze can set
up. (Note: The glaze will make its way down the side of the bars, so
when you eat them, they’re a little messy and sticky but totally worth
the trouble.)
